
Now, considering the large amount of DIY we are rocking over here, a little extra income from a rental property was pretty inciting. However, allow me to warn you, doing work on a house that you are not living in is so. much. harder. When you're working on your own house, you lay in bed every night or wake up every morning and see your labor paying off! Every time you sit on the couch and watch the TV over your built-in shelves, you think about how GREAT it feels to finish a project. Not the case with the back house. You will lock the door, go back inside your own house, and 6 months later remember the dusty mess you left back there. Don't say I didn't warn you.
But every once and a while you will turn on some good tunes (this part is important) and knock out a project or two. Which is how we ended up with this mess...

Oh, how I wish we had a "before" picture. Let me just summarize it for you: uneven, mismatched, pink and white terra-cotta. Pretty. (I hope you sensed the sarcasm). So, we invited over our best friends, offered them a delicious dinner, and told them to bring their sledge hammer and crowbar.
These tools were the KEY here. You need the big one (Masons Chisel) to get the whole tile, the little one to get the stubborn pieces that get left behind (Cold Chisel), and the pry bar to get the things that are stuck and need more leverage. *You also need ear protection! This was the loudest project we have done to date!*
 |
| masons chisel, cold chisel, pry bar |
Now, the tile was off but we were stuck with thin set on the floor (see all of those ridges?)

Then we rented an electric jack hammer to remove the thin set so that the floors were smooth again.
*Disclaimer: Wear a mask and ear protection when using this tool!
(we're talking gray boogers for days, people)

Once the floor was void of all thin set, we wiped it down with a large sponge to remove any residual dust. Let it dry at least overnight before applying an adhesive flooring.
Now, the fun part!
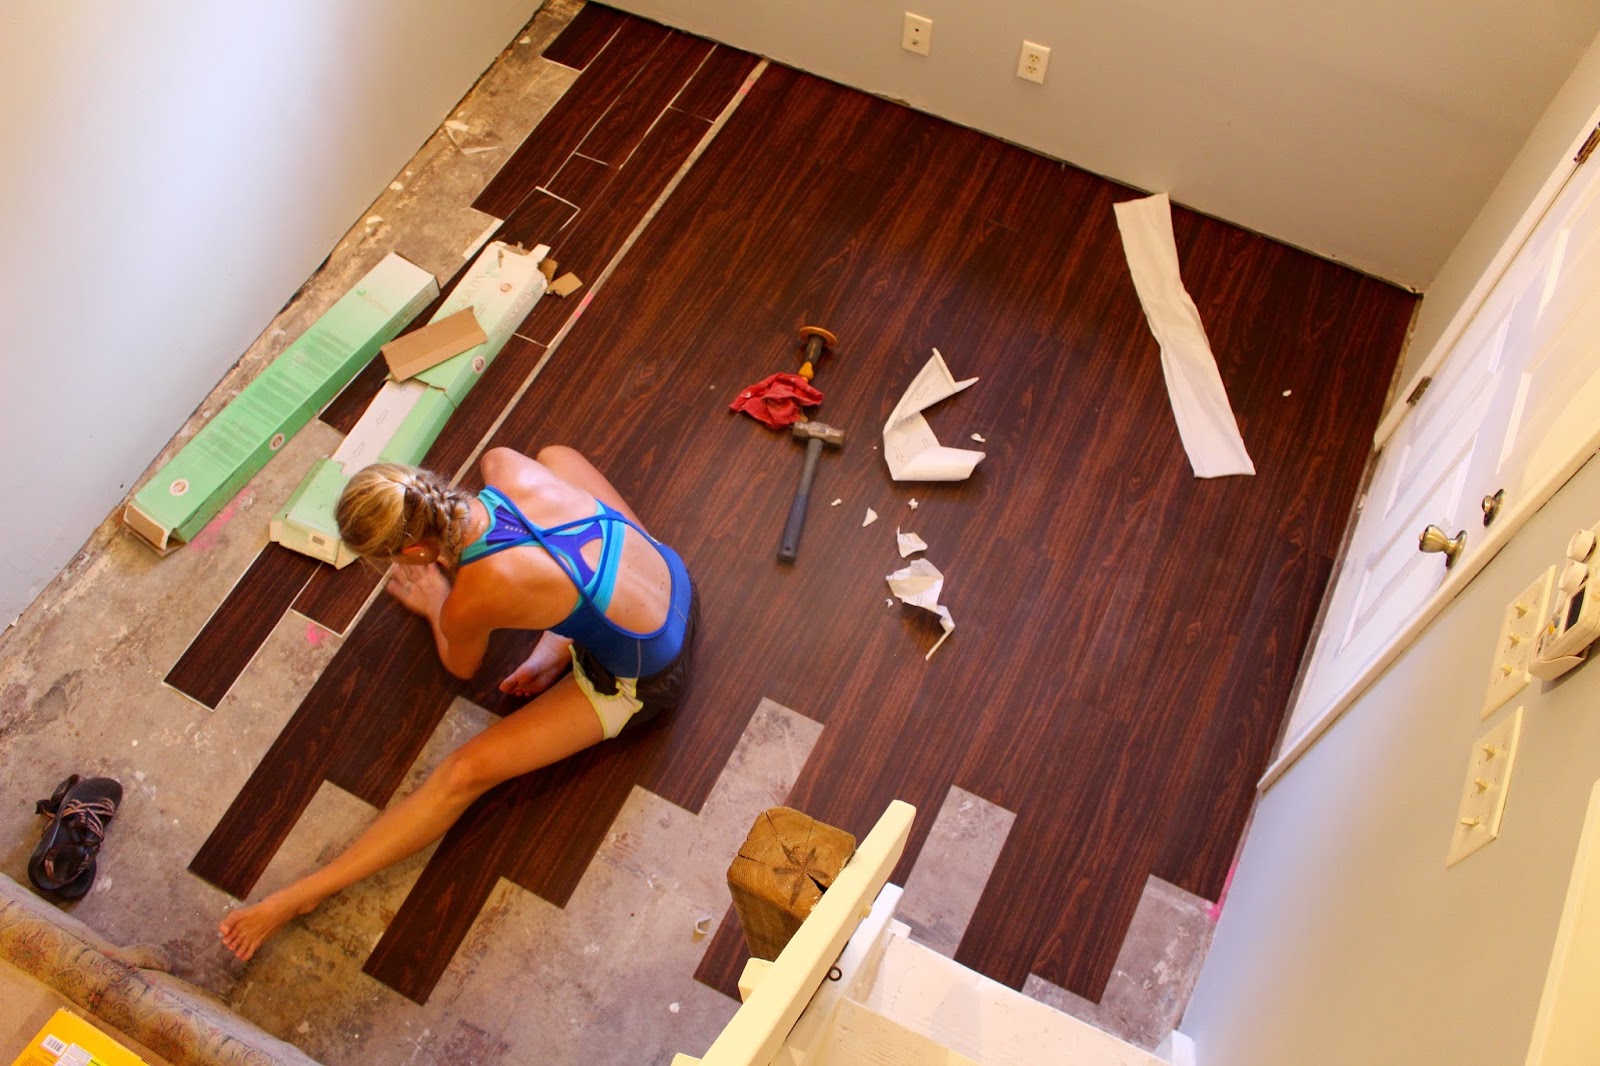
We knew we wanted flooring that was easy to install, easy to clean, easy to replace, and affordable... BUT that gave the space a nice, clean, and updated look. [Link to floor here]. We started by laying the flooring out so we had our pattern, and knew how many pieces we would need in each row. The teacher in me was so excited to find a use to buy a paper cutter-- which now happily resides in my classroom. That is how easy it was to cut these things! Mark it, line it up, and chop.
We began laying the tiles in the corner closest to the door so that, should we make a mistake the room not be perfectly square, it would be covered by furniture.
The paper backing had arrows, marking which direction to remove the paper to reveal the adhesive side.


Then, we moved across the room starting on the wall every time Push the new piece up against the already attached neighboring piece as close as it will go without lifting the edge.
*Do not get a row too long before moving across the room. If you start to get crooked, you will throw the whole room off. It is best to do a couple across, and move up.*
You might need to apply pressure while waiting for the adhesive to fully take effect. Don't worry, your back/neck will welcome the break.

The picture on the left is after we completed the living space, before moving into the kitchen.
We were seriously surprised at how simple it was to lay these floors! We don't have a tenant yet, but they seem so durable and look amazing.
We were seriously surprised at how simple it was to lay these floors! We don't have a tenant yet, but they seem so durable and look amazing.

